View the full list of steps below to learn how to add American Marketing & Publishing into Apple Maps.
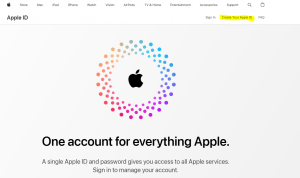
Start by creating an account at appleid.apple.com. Click Create Your Apple ID in the top right corner. Fill in your First Name, Last Name, Birthday, Email Address, Password, and Cell Phone Number.


Apple will send a 6 digit verification code to the email used. Then, Apple will send a 6 digit code to the phone number used. Once these are entered, the account will be set up.
Go to businessconnect.apple.com to claim your Apple Maps listing.
Select Small Business. Search businessconnect by Business Name, City and State, or Zip Code.

Fill in or update all of the information on the listing. This includes the Business Name, Address, Phone Number, Website, Category, and Hours.
Once the listing is in your dashboard, click Company on the left.

On the Company page, click Access.

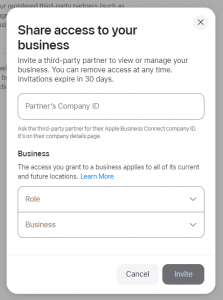
After clicking Access, a pop-up will appear to share access to the listing.
Enter the Partner’s Company ID

Under Role, select Business Admin

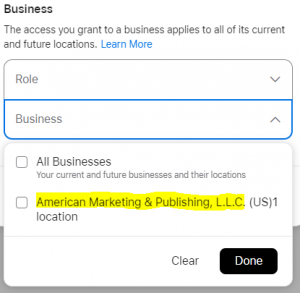
Under Business, select your Business Listing

The final step is to click Invite. We’ll take it from here!
